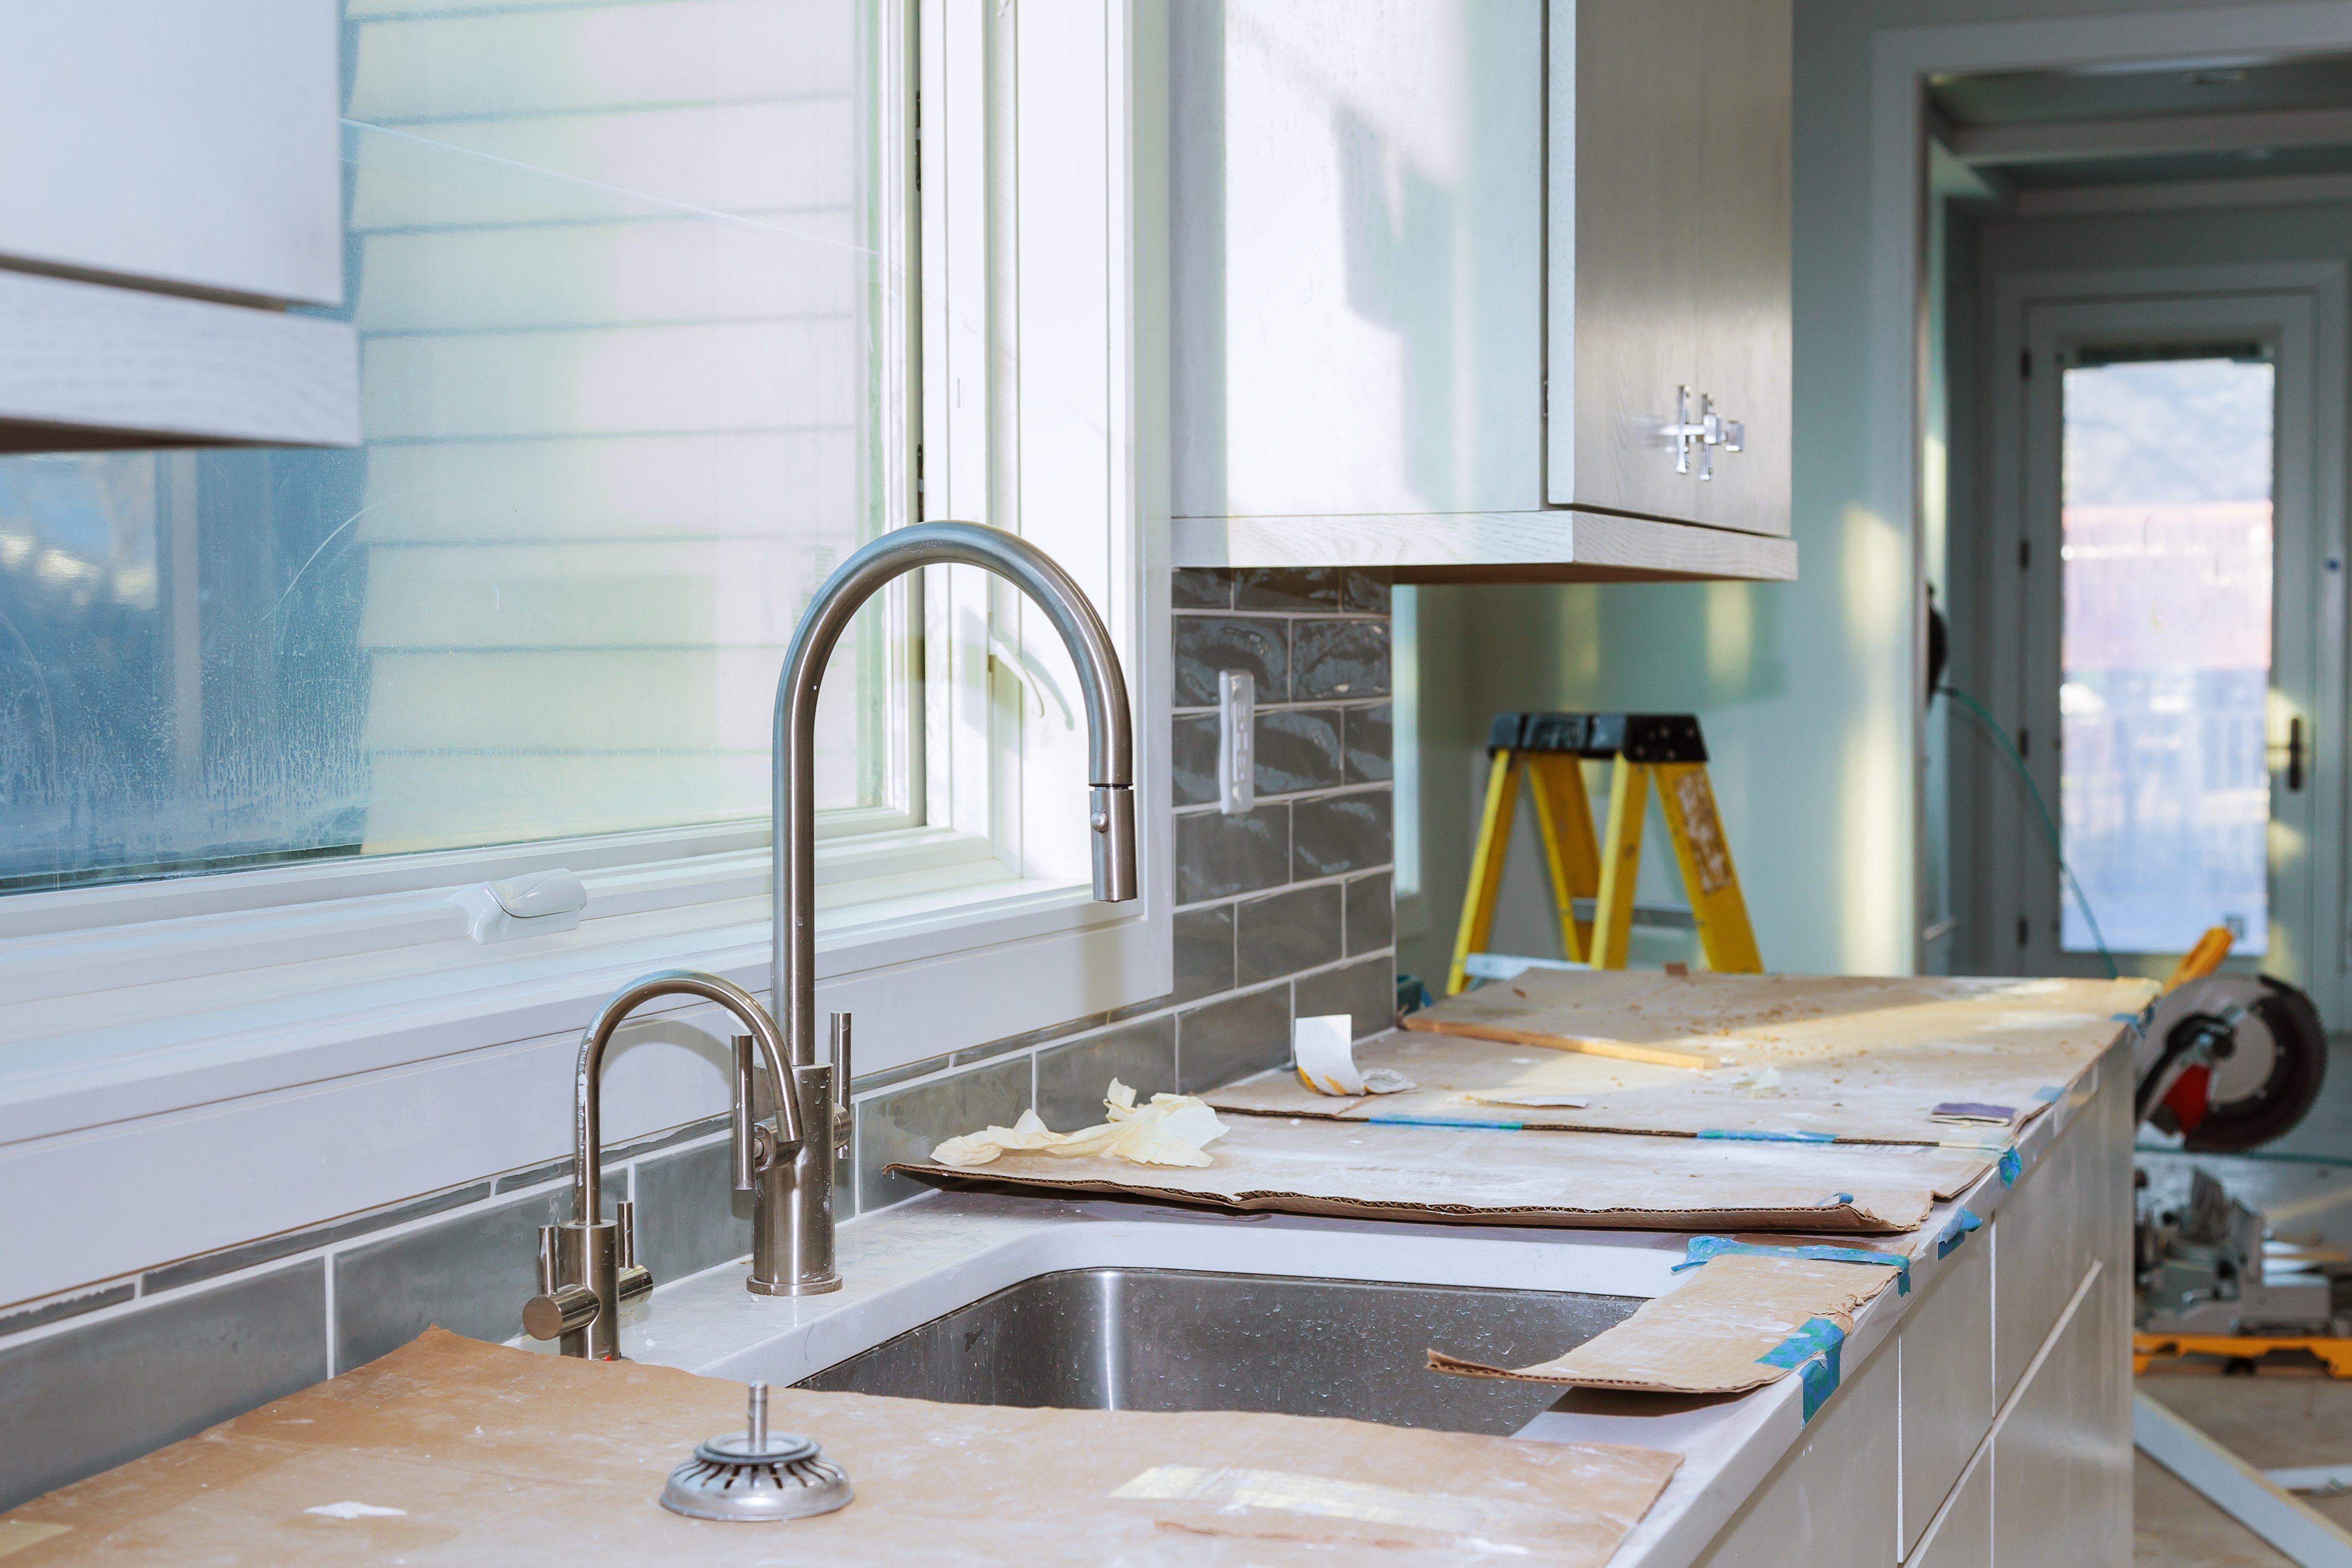
DIY Tips: Applying the Best Sealant on Your Kitchen Backsplash

A kitchen backsplash not only adds style to your cooking space but also protects your walls from moisture, stains, and grease. Applying the right sealant is crucial to maintain its beauty and functionality over time. In this article, we’ll guide you through selecting and applying the best sealant for your kitchen backsplash, ensuring long-lasting protection and a polished finish.
Why Seal Your Kitchen Backsplash?
Sealing a kitchen backsplash helps prevent water damage, mold growth, and staining caused by spills or steam. It extends the life of materials like tile, stone, or grout by creating a protective barrier against moisture and dirt. Without an effective sealant, even durable backsplashes can deteriorate or become discolored over time.
Types of Sealants Suitable for Kitchen Backsplashes
There are several types of sealants designed specifically for kitchen backsplashes: 1. Penetrating Sealants: Absorb into porous materials like natural stone or unglazed tile to block moisture without altering appearance. 2. Topical Sealants: Form a protective layer on surfaces such as glazed tiles or glass mosaics but may change surface glossiness. 3. Silicone-Based Sealants: Flexible and ideal for sealing edges and joints between backsplash tiles and countertops to prevent water infiltration.
Top Recommended Sealants for Kitchen Backsplashes
When choosing the best sealant, consider options that offer durability against heat and humidity common in kitchens. Popular choices include: – StoneTech BulletProof Sealer (penetrating) – Aqua Mix Sealer’s Choice Gold (penetrating) – Tuff Duck Granite & Tile Epoxy Sealer (topical) – GE Silicone II Kitchen & Bath Caulk (silicone-based) These products provide excellent protection while preserving the look of your backsplash materials.
Step-by-Step Guide to Applying Sealant on Your Kitchen Backsplash
Clean the Surface Thoroughly: Remove grease, dust, and grime using appropriate cleaners tailored to your backsplash material. 2. Allow Drying Time: Ensure the surface is completely dry before sealing to maximize adhesion effectiveness. 3. Apply Sealant Evenly: Using a brush or applicator recommended by manufacturer instructions apply an even coat across all tiles or grout lines without pooling excess product. 4. Let It Cure Properly: Follow curing times specified; avoid exposure to water during this period for optimal results.
Maintenance Tips After Sealing Your Backsplash
To keep your sealed backsplash looking fresh longer avoid abrasive cleaners that can degrade sealants quickly; opt instead for mild soap solutions with soft cloths or sponges regularly wipe down surfaces after cooking splatters; inspect periodically for signs of wear or damage so you can reapply sealant as needed before problems develop.
Applying the best sealant on your kitchen backsplash is a straightforward DIY project that significantly protects your investment while enhancing aesthetics in one of the most used spaces in your home. By choosing quality products suited to your specific materials and following proper application steps with care you’ll enjoy a beautiful splashback that stands up well against everyday use.
This text was generated using a large language model, and select text has been reviewed and moderated for purposes such as readability.


