Tools You Need to Replace Worn-Out Sink Seals at Home

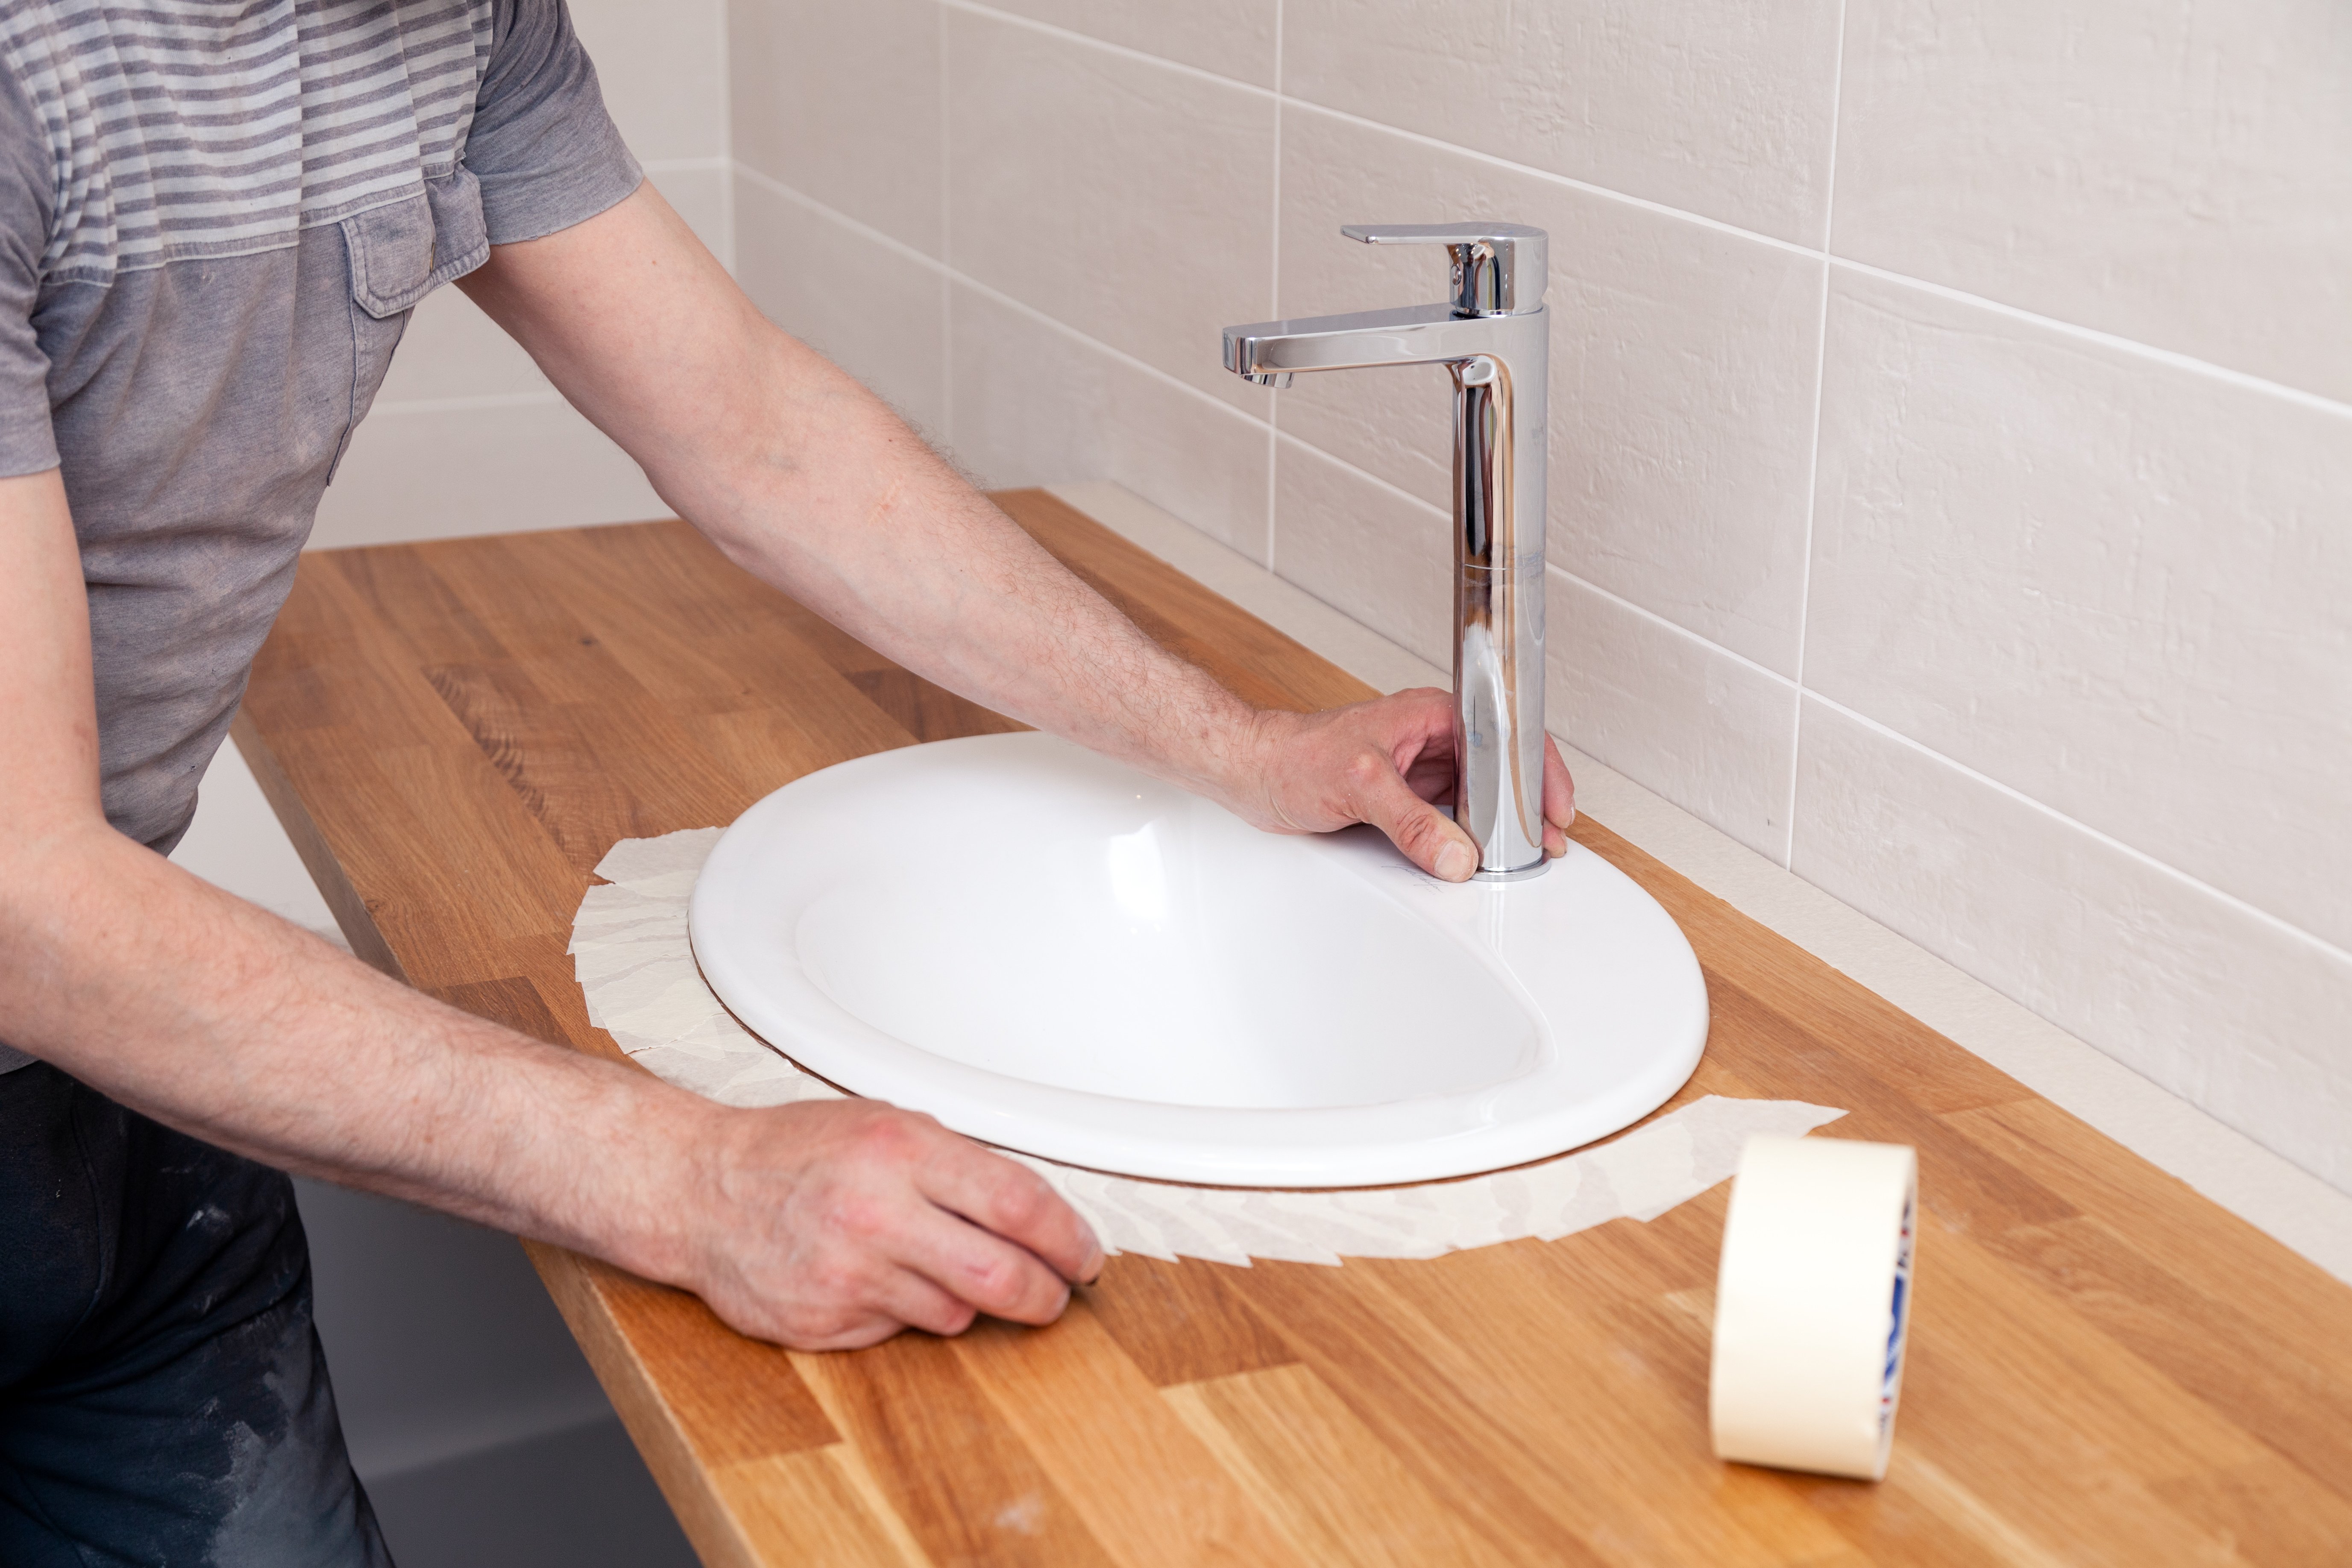
Replacing worn-out sink seals is a straightforward home maintenance task that can prevent leaks and water damage. With the right tools and a little know-how, you can tackle this job yourself without needing to call a plumber. This article will guide you through the essential tools required to replace sink seals effectively and safely.
Understanding Sink Seals and Their Importance
Sink seals prevent water from leaking at the joints where your sink connects to pipes or countertops. Over time, these seals can wear out due to constant exposure to water, temperature changes, or general wear and tear. When seals fail, they cause leaks that could damage cabinets, floors, or walls. Recognizing when your sink seals need replacing is key to maintaining a dry and functional kitchen or bathroom environment.
Essential Tools for Replacing Sink Seals
To replace worn-out sink seals properly, you’ll need a few basic tools: an adjustable wrench for loosening nuts under the sink; screwdrivers (both flathead and Phillips) for removing any fasteners; pliers for gripping and turning fittings; utility knife or gasket scraper for removing old sealant; replacement washers or gaskets specific to your sink model; plumber’s putty or silicone sealant for creating new watertight connections; a bucket to catch any residual water during disassembly; cleaning rags to wipe off dirt and old sealant residue.
Preparation Before You Start
Before beginning the replacement process, turn off the water supply valves under your sink. Place a bucket beneath the plumbing fixtures to catch drips when disconnecting pipes. Clear out items from under the sink area so you have ample workspace. Gather all necessary tools in one place so you don’t have to interrupt your work later searching for equipment.
Step-by-Step Overview of Replacing Sink Seals
Start by loosening pipe connections with your wrench carefully — avoid damaging any parts if possible as some may be reusable. Remove old gaskets or washers using your utility knife or gasket scraper gently without scratching surfaces around them. Clean all sealing surfaces thoroughly before applying new plumber’s putty or silicone sealant according to manufacturer instructions. Install new gaskets in place then reassemble fittings tightly but avoid over-tightening which could cause damage.
Tips for Maintaining Your New Sink Seals
Regularly check underneath sinks for signs of moisture or leaks as early detection helps prevent bigger problems later on. Avoid using harsh chemicals that degrade rubber seals quickly—opt instead for mild cleaners around plumbing areas. Periodically tighten fittings as they may loosen over time due to vibrations from usage.
With these essential tools and tips in hand, replacing worn-out sink seals becomes an achievable DIY project that saves money while protecting your home from potential water damage. Remember always safety first—use gloves if needed and ensure proper ventilation when working with sealants.
This text was generated using a large language model, and select text has been reviewed and moderated for purposes such as readability.


